
Once upon a time, I made a cover for a bolster cushion. What an adventure it was! Here’s how I did it:
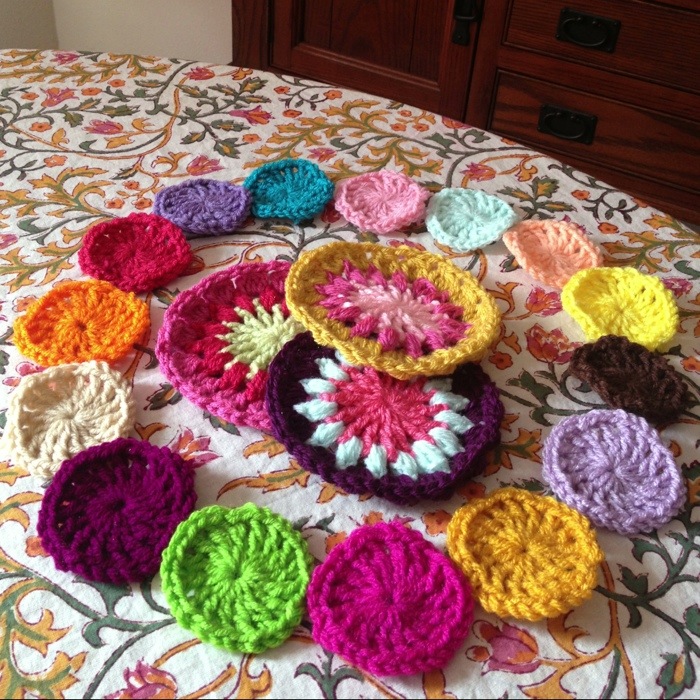
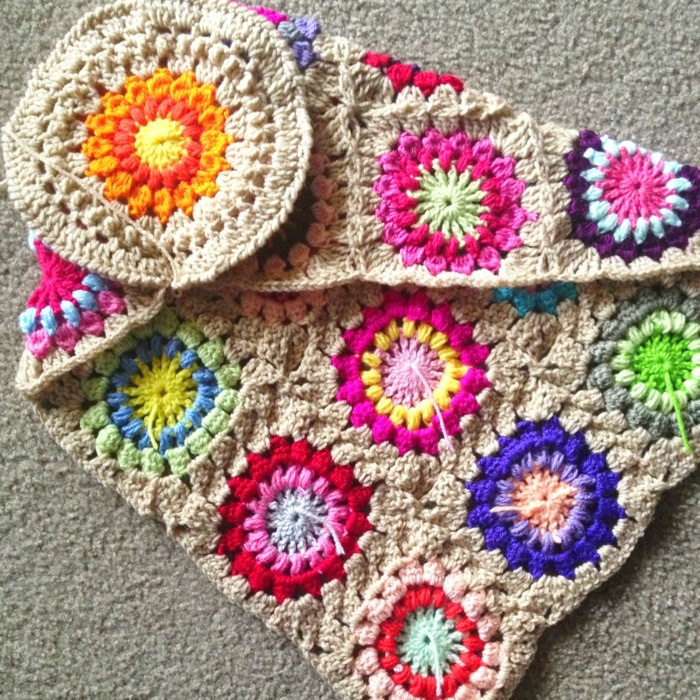
The Sunburst Granny cushion cover began its life as 18 pretty circles (16 for the body and 2 for the sides).
You need to think about how big to make your side circles and your body square. The first measurement you need is your side circle measurement. Mine is 9 inches across (diameter). This is how large you need to make your two side circles. Your next measurement is the perimeter of that circle, because when you make the body, two sides of that body will be attached around the side circles using reverse SC.
It doesn’t matter how long you want your cushion cover to be – as long as it fits your cushion, of course! I made my cushion body a square (4×4=16 grannies) because it worked out that way.
You can take a piece of yarn and lay it around the perimeter of the side circle, or wrap it around your cushion and measure it to get the perimeter (circumference). Or you smarties can use C = pi(d). In other words, I have a 9″ diameter cushion, so I will have a circumference of C = 3.14 x 9 = roughly 28″. So the height of my square needs to be 28″, and the length needs to be the length of my cushion. Capisce?
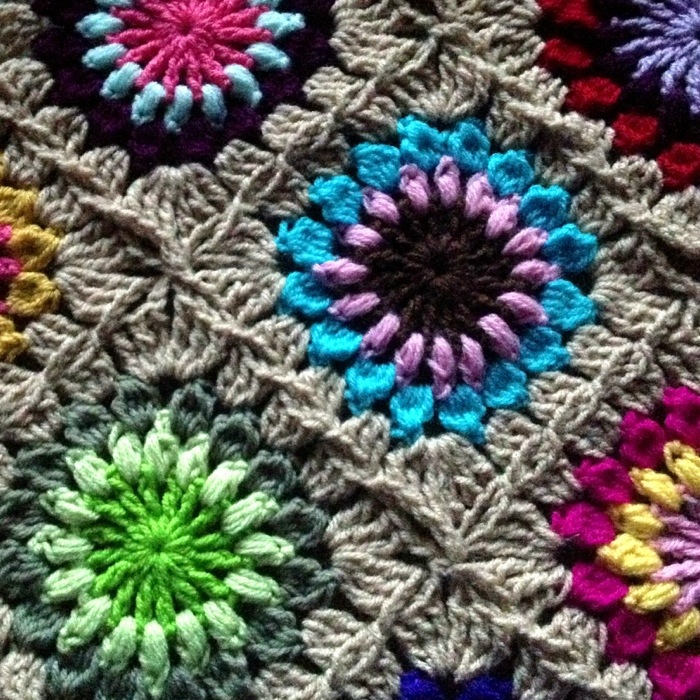
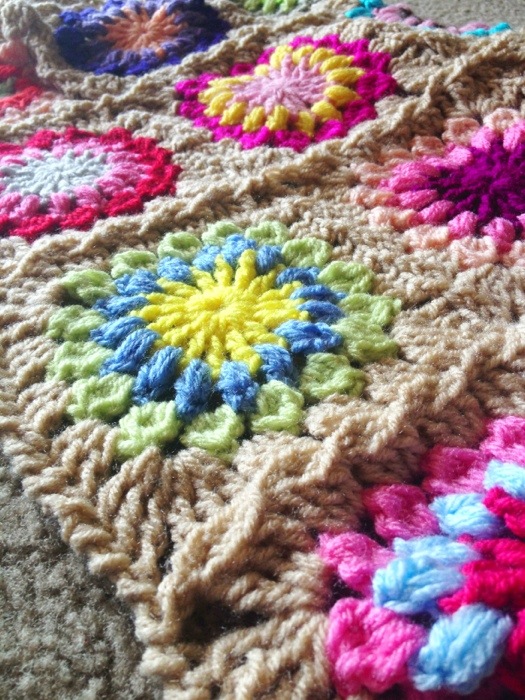
I joined my pretties with a continuous join-as-you-go method – you’ve seen me talk about it here! For the body, you can use any square that you’d like and any joining method that you like. Once you choose your granny square, measure it and if you can’t get a whole number of squares, then maybe try aiming under it and adding length on either side to reach circumference.
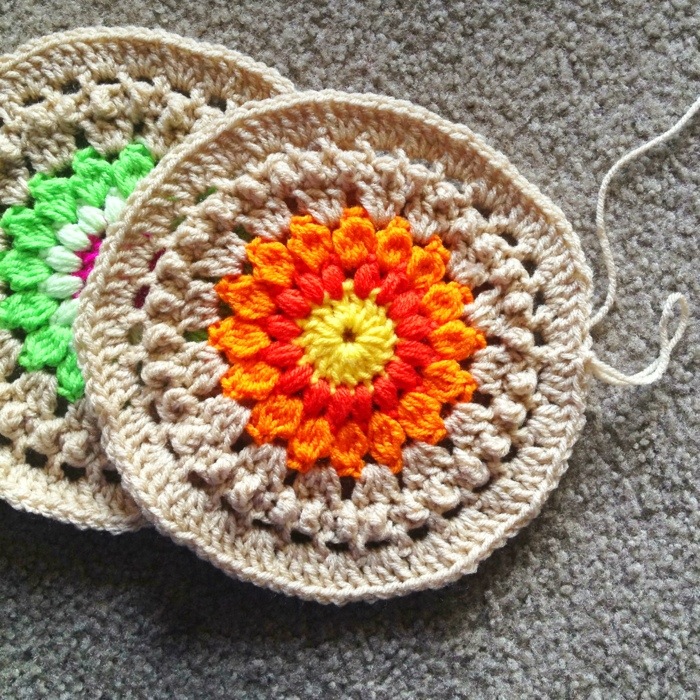
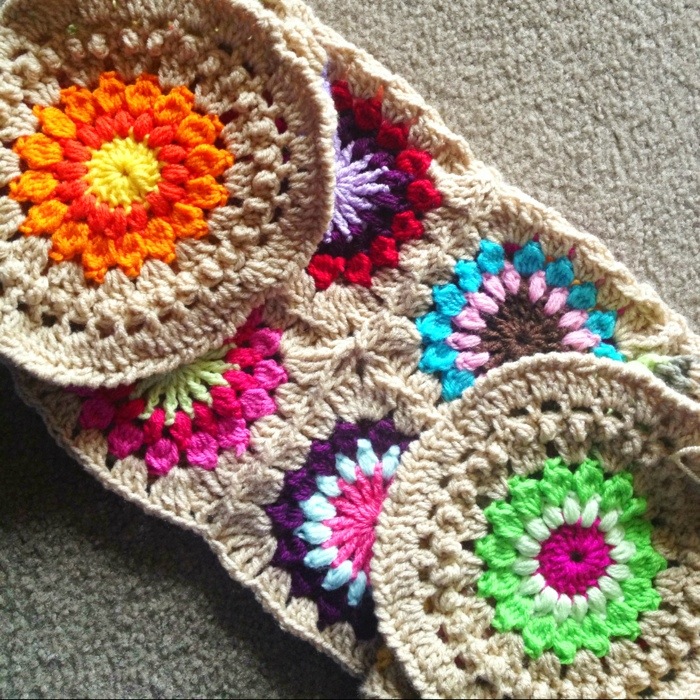
Here are my side circles – I used the Sunburst pattern and added a few Circle of Friends square rounds to extend them to 9″ diameter.
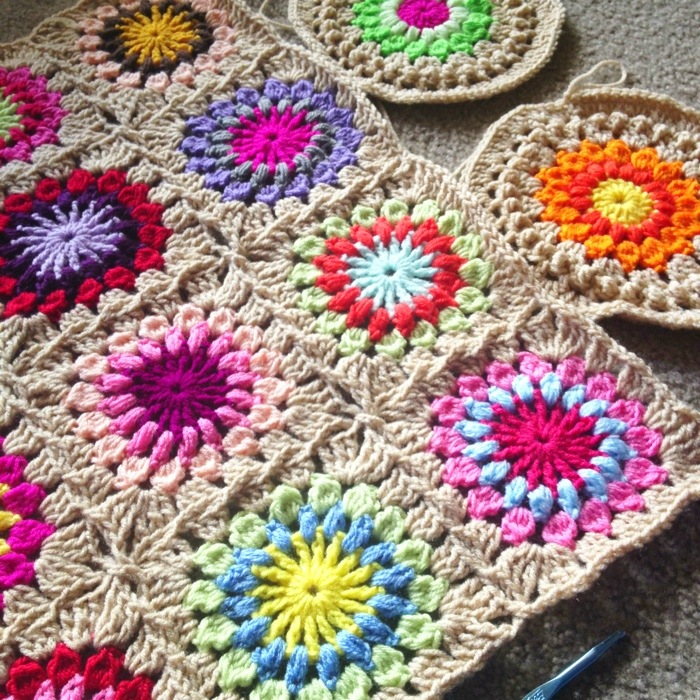
Starting holding the first side circle to the corner of the body square with wrong sides together, reverse SC them together, easing the body to the round shape of the circle. When you get all the way around, you’ll have something like the photo below. How it’s time to reverse sc across to the other side. Leave this slit open though, as you’ll be using this as your opening to insert the cushion.
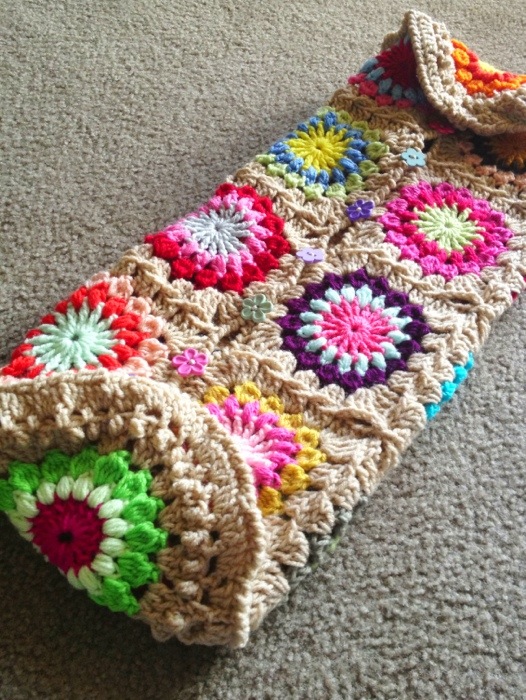
When you go around the other circle (make sure the front side of the reverse sc shows on the circle side – it looks more decorative that way – just an opinion) you’ll have something like this!
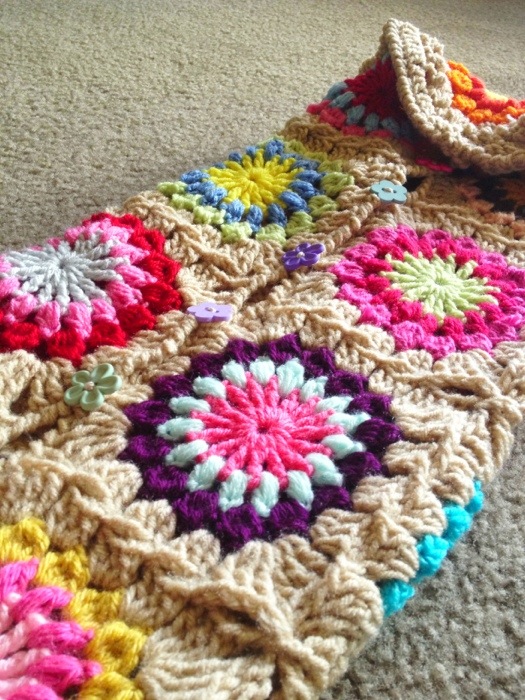
Now reverse sc back down the cushion cover opening, adding in buttonholes at even intervals. Sew buttons across from the holes and done! 😉

Lovly