
My second cushion cover! 🙂
Click here to get info on ordering a cushion cover as a custom piece!
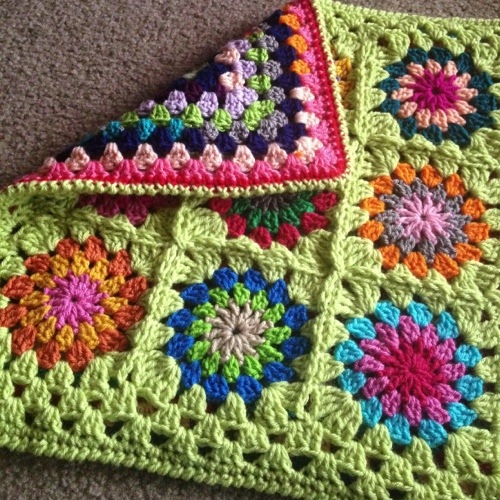
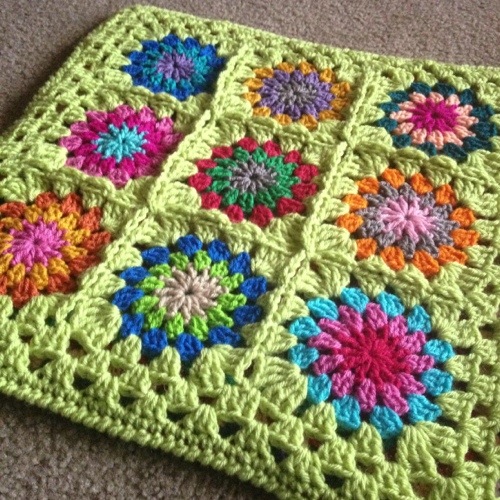
Front is a Flowers in the Snow granny square pattern, with a light green background. I used a continuous join-as-you-go, which I wrote up in a tutorial here.
Tip: Joining
I have seen many times that folks confuse “join-as-you-go” with “continuous join-as-you-go.” When you join continuously, you start at a corner motif and join in a continuous motion non-stop until the motifs are all joined and the blanket is finished. With the regular method, you are joining each motif to the last when you work the final round.
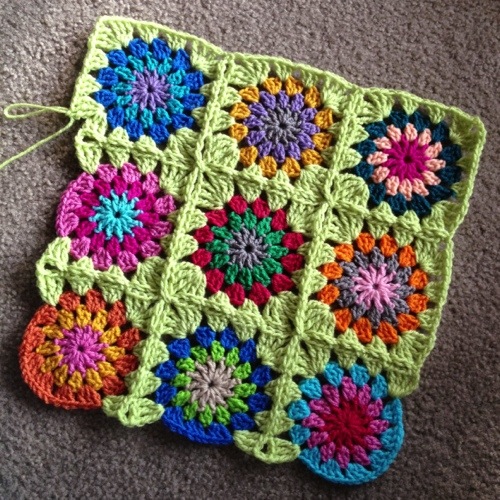
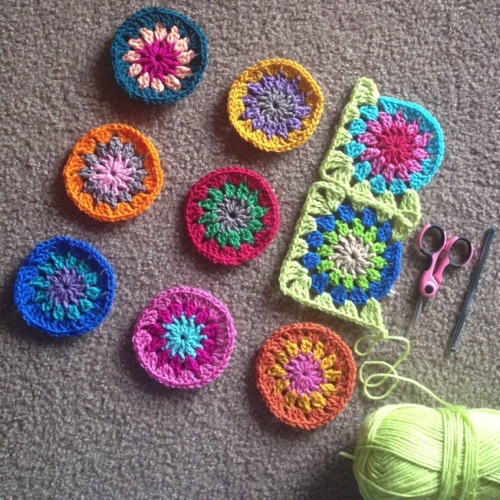
A couple of progress shots!
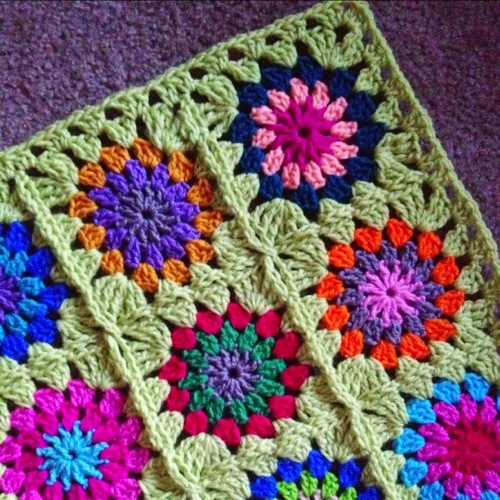
And FIN!
Where’s the back of the cushion? See the funky-colored granny square down below! Love it! I used my Perfect Granny Square pattern. The recipient wanted a scrappy look, so while I didn’t use scraps, I did start and stop mid-round for a more off-beat feel.
Tip: Construction
To join back to front, I worked a reverse SC stitch around with the wrong sides held together. Since this stitch is not reversible, I had to be careful how I designed it. I wanted the right side to be on the front, so I held that side facing. A decorative XXXXX is formed around the border on the back of the cushion. It complements the youthful nature of the cover. Pretty!
The front cover had 5 more stitches per side than the back cover, so I had to ease it in as I went around joining. It worked out fine, and is not noticeable.


Your cushion is absolutely lovely and the colours are gorgeous, I love how you have used lots of colours. I have just been making cushion covers too, one is complete and the other almost there.
Fabulous! I’ll be hopping over to your blog to take a peek in a few 😉
RC xx
Love this so lovely. What yarn did you use?
Hi there! I used both brands Hobby Lobby “I love this yarn” and Red Heart “Super saver” – just remnants of random acrylic 🙂